How to Photograph Your Roof for an Accurate Quote
Good photos bring the first estimate much closer to the real price. Here is what to shoot, and how to do it safely.
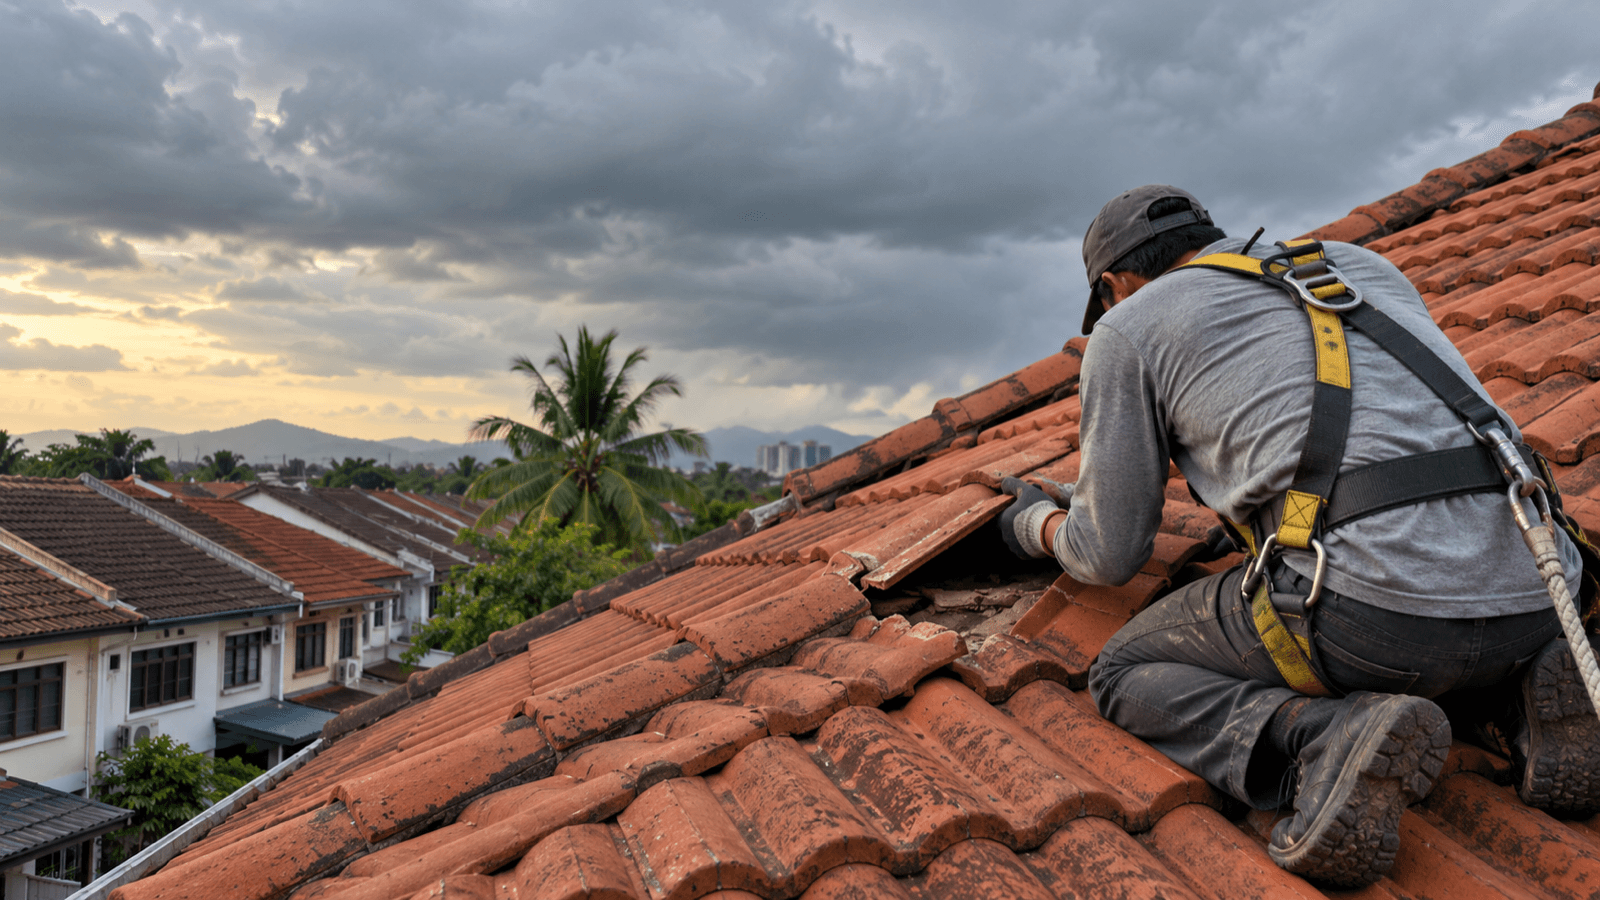
The first step to a roof repair quote is usually sending photos on WhatsApp. From those photos a contractor can give an initial estimate before coming over for an on-site inspection. The problem is that many people send a single dark, blurry shot of the ceiling, and the estimate that comes back is far too broad to be useful. This guide covers which photos to send, how to take them safely, and the extra details that help.
Why Good Photos Matter
The first estimate depends on what can be seen
Roof repair prices vary with roof type, the size of the area and how bad the damage is. Roof leak repair, for example, starts from RM150 per job, while zinc roof replacement starts from RM15 per sq ft. If the photos do not show the roof type or how large the affected area is, it is hard to tell which job fits, so the estimate ends up as a wide range.
Photos do not replace an inspection
Photos help with the initial estimate, but an exact price can only come after an on-site inspection, which is free. Some things never show in a photo, such as rotten truss timber or water travelling a long way from where it first gets in. Still, a complete set of photos makes the inspection far more focused.
The Photos to Send
Inside the house
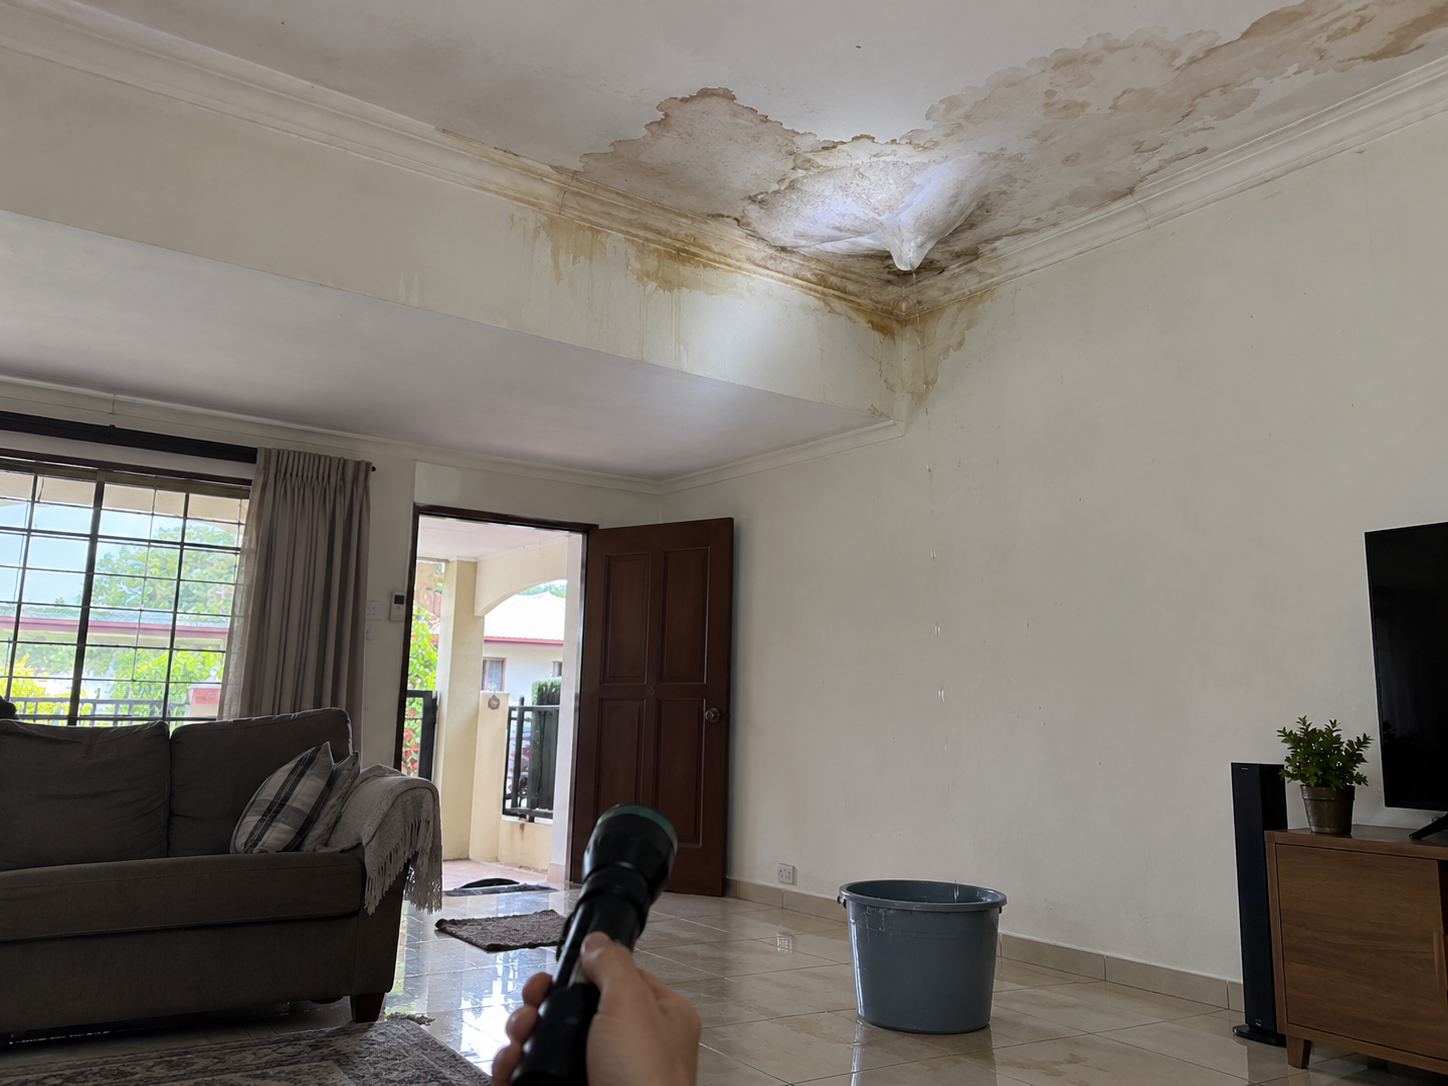
- The affected ceiling – one wide shot showing the whole room, and one close-up of the stain.
- The drip point – if there is a bucket catching water, photograph where it sits.
- Walls – bubbling paint or water marks running down from the ceiling.
- The ceiling space (if there is a manhole) – only if you can open it safely from a ladder. Point your phone light at the timber and the underside of the roof.
Outside the house
- The whole house – from the road in front, so the shape and type of roof are clear.
- The roof section above the leak – from an upstairs window, a neighbour's house (with permission) or from the ground using zoom.
- Gutters – especially if there are leaves, rust or sagging sections.
- Wall joints – parapet edges, the porch roof and any kitchen extension roof.
For flat concrete roofs
If you can reach a flat roof through a proper door or fixed stairs, photograph the whole surface, any ponding water, cracks and the area around the drain outlets. This helps judge whether a local repair is enough or a new waterproofing layer is needed.
A short video during rain
If water is dripping right now, a 10 to 20 second video is very useful. It shows how fast the drip is and whether water comes from one point or spreads along the ceiling.
Taking Photos Safely
Do not climb onto the roof
This is the most important point. Zinc is slippery when wet and hot in the sun, tiles crack underfoot, and a fall from a roof can cause serious injury. A contractor does not need photos from on top of the roof for an initial estimate; shots from the ground and from windows are enough.
Practical tips
- Take photos in daylight, with the room lights switched on.
- Wipe your phone camera lens first, especially after rain.
- Use the camera's zoom rather than cropping afterwards.
- Avoid direct flash on a white ceiling, as it washes out the stain.
- Send the original photos, not screenshots, so the detail survives.
Label the locations
If your house is large or has more than one storey, add a short note for each photo, such as "front bedroom upstairs" or "back kitchen". It makes it much easier to match a ceiling stain to the part of the roof above it.

Other Details That Help
About the house
- Your location, at least the neighbourhood and town.
- House type: terrace, semi-detached, bungalow, kampung house, shophouse or factory.
- Roof type if you know it: zinc, tile, metal deck, spandek, flat concrete or polycarbonate.
- Roughly how old the house is and whether the roof has ever been replaced.
Leak history
Tell us when the leak started, whether it happens every time it rains or only in storms, and what has been repaired before. If the roof has been patched with silicone or cement, mention that too. These details help separate a small fix from a problem that needs bigger work.
Location shapes roof condition
Homes near the coast, such as in Kuantan, often show rust on zinc earlier, while decades-old terraces in Petaling Jaya or Ipoh may still carry original tiles that have turned brittle. Mentioning your location helps us anticipate what we are likely to find.
Common Mistakes When Sending Photos
Sending only one close-up
A close-up of a stain without a wide shot does not show where in the house it is. A stain in the middle of the ceiling, along a wall or under a window usually points to different causes. Always include at least one photo that shows the whole room.
Waiting for the ceiling to dry first
Some people wait until the ceiling dries before taking photos. In fact, the state during a leak, including water pooling on a board ceiling or a sagging panel, gives the clearest clue to how big the problem is. Take the photo then, even if you dry the area afterwards.
Leaving out earlier DIY fixes
If you or a previous handyman applied sealant, patched with plaster or added an extra piece of zinc, photograph that too. Old patches sometimes hide the real cause, and knowing about them early saves time at the inspection.
After You Send the Photos
What happens next
- We review the photos and give an initial estimate based on the work that is visible.
- A free on-site inspection is arranged to confirm the cause and take measurements.
- You receive an exact quote before any work starts.
For projects of RM3,000 and above, instalments of up to 3 months interest-free are available with a 30% deposit. Price ranges for each roof type are in our price table.